Master ClickUp Time Tracking: Boost Productivity in 2026
Welcome to the world of efficient project management with ClickUp! Time management is crucial for success in today’s fast-paced work environment, and ClickUp’s time-tracking feature is a valuable tool. However, many users face challenges with ClickUp’s time tracking. From difficulties in using the feature to limited reporting options, ClickUp’s time tracking may not always meet users’ needs. This guide aims to help you overcome these challenges and make the most of ClickUp’s time tracking. Whether you’re new to ClickUp or a seasoned user, let’s explore how to improve your time tracking experience and boost your productivity.
Getting Started With ClickUp Time Tracking
Time tracking is a pivotal feature in ClickUp, enabling precise monitoring and optimization of work hours. Before diving into this powerful tool, get acquainted with what ClickUp time tracking entails.
Prerequisites
- A ClickUp Workspace owner or admin must enable the Time Tracking ClickApp.
- Individual guests can access the time-tracking feature with permission granted by a Workspace owner or admin.
- Time tracking is a universal feature available on all ClickUp plans.
❗ Note for Free Forever Plan users: The Free Forever Plan includes 60 uses of the Time Tracking ClickApp, and time entries cannot be deleted.
❗ Note for Unlimited Plan users: The Unlimited Plan offers 100 uses for certain features, such as adding a time entry description, labels, billable entries, and tracking time not linked to a specific task. Business Plan users enjoy unlimited access to these features.
Enabling time tracking
To harness the benefits of ClickUp time tracking, ensure it’s enabled for your Workspace or specific Spaces.
- For Workspace-wide activation:
– Click on your Workspace avatar (lower-left in ClickUp 2.0 or upper-right in ClickUp 3.0).
– Select ClickApps.
– Find and enable the Time Tracking ClickApp for all Spaces. - For Space-specific activation:
– Access the Space Settings ellipsis in the Sidebar.
– Select More, then ClickApps.
– Click Time Tracking and save to enable it for the Space.
Accessing time tracking
Once enabled, access the Time Tracking modal seamlessly from various views:
- Task view
- Quick Action menu. Initiate by clicking the Quick Action menu, selecting “Track Time,” and manage entries with ease.
- List view and Board view. In the List view, add the Time Tracked column for a comprehensive display of time entries. Similarly, in the Board view, activate the Time Tracked field on task cards for easy tracking.
Time tracking modal
Open the Time Tracking modal on a task by clicking the Time Tracked field. From here, you can manage and edit time entries effortlessly.
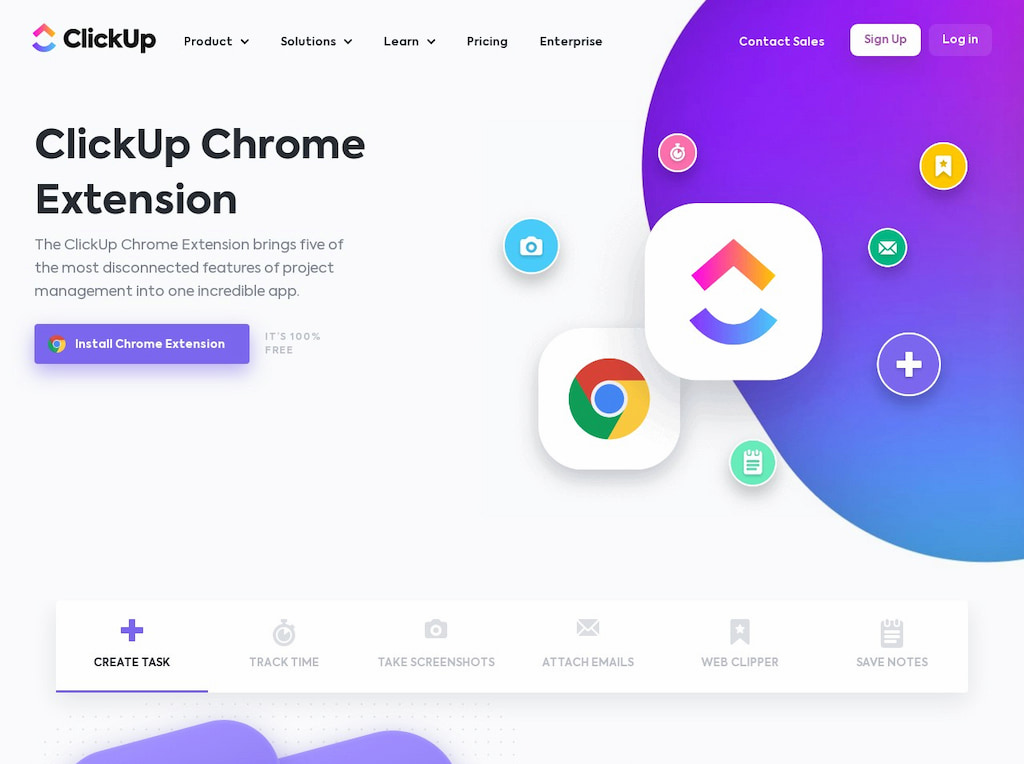
ClickUp Chrome extension
Extend time tracking capabilities to your web browsing experience with the ClickUp Chrome extension. Create time entries associated with tasks while navigating the web.
Optimize your ClickUp experience by seamlessly integrating with Everhour, a robust time tracker. This integration provides a seamless connection between task management and time monitoring. It ensures a fluid workflow, providing precise time tracking for increased productivity.
💭 Learn what real users have to say about Everhour:
“I like how simple Everhour is to get set up with it’s integration to ClickUp and how easy it is to track time. I use it daily with my company and it makes invoicing for my time simple.” [Erica, G2]
“The easy way to integrate these with CRM’s like Asana and ClickUp. Time can be added individually or in batches per week. You can also track time off and select if those are holidays, sick leave, paid or unpaid time.” [G2]
“Best ClickUp integration regarding time tracking and project budget tracking. Projects and budgets can be added directly from ClickUp, there is almost no need to leave the main app, we really like how they work together. Reports are very customizable, and data well synced with ClickUp.” [Goran, Capterra]
You can track time in ClickUp via other ClickUp integrations or ClickUp templates!
How to Track Time Directly in ClickUp
If you’re looking to efficiently track hours using ClickUp’s built-in time tracker, this short and easy guide will walk you through the process.
1️⃣ Create or join a ClickUp account
Start by visiting the ClickUp website and follow the instructions to create or join an account. Better to start with the free plan to grasp the program’s core features before unlocking additional extras. During setup, remember to turn on “ClickApps,” specifically enabling the time tracking module if your focus is on billable hours.
2️⃣ Set up personal ClickUp settings
Access My Settings located in the bottom-left corner by clicking the “double icon” where your Workspace and Profile photo overlap. Customizing these preferences early in your ClickUp journey ensures a smoother and more streamlined user experience.
3️⃣ Install the extension
To use ClickUp time tracking, you’ll need to install the ClickUp Chrome extension. After that, you can return to the Settings area to fine-tune your time-tracking settings.
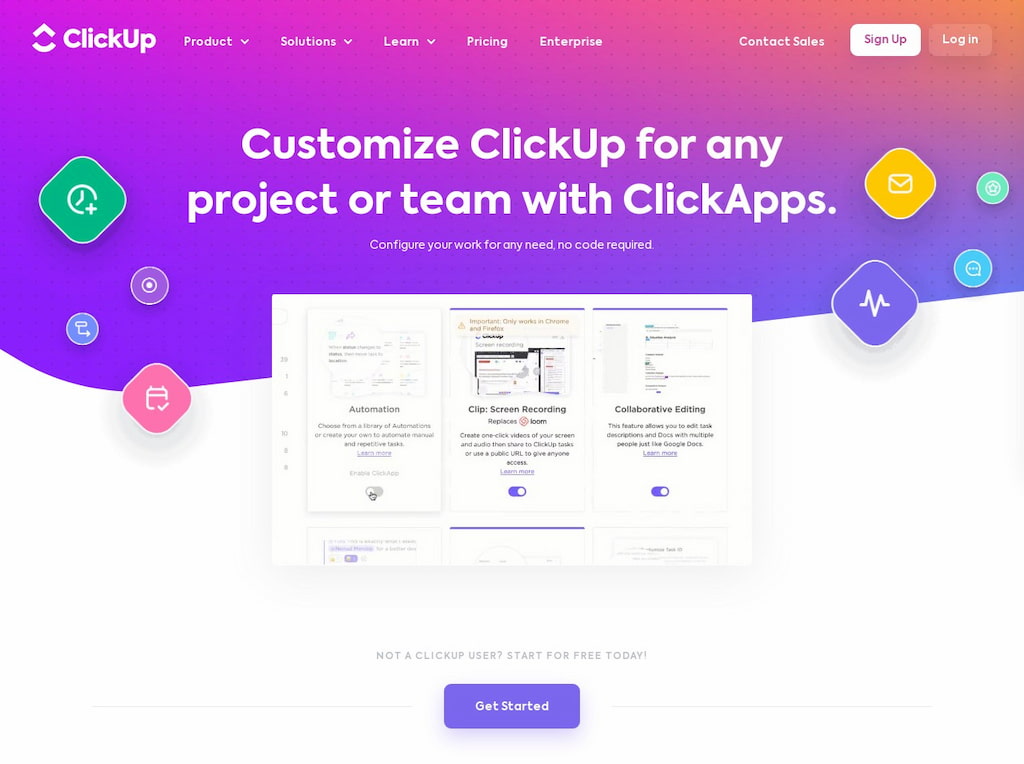
- Click on “ClickApps.”
- Scroll down to locate “Time Tracking” and switch on the setting.
- Customize the settings to display time in either hours or days.
Following the activation of time tracking for the Workspace, start adding time entries, generate reports, track time on your mobile phone, and explore integration possibilities via the ClickUp API.
Limitations of ClickUp Native Time Tracker
- Basic analytics: ClickUp’s time reporting features provide only rudimentary insights and lack the depth of advanced analytics or detailed options. Users may find it challenging to gather comprehensive data for thorough analysis of time usage and productivity.
- Lack of user-friendliness: Many users encounter difficulties navigating ClickUp’s time-tracking feature due to its complex interface and multiple clicks required to access key functions. This lack of user-friendliness can lead to frustration and decreased efficiency in time tracking efforts.
- Mobile app challenges: The ClickUp mobile app presents challenges, particularly in the functionality related to starting and stopping timers on mobile devices. Users may experience glitches or delays, hindering accurate time tracking while on the go.
- Accuracy issues: Users relying on ClickUp for time tracking may encounter accuracy issues, especially in environments with weak or unavailable internet connectivity. This reliance on cloud-based functionality can result in challenges in adding time entries and maintaining precise records.
- Limited availability: While ClickUp offers time tracking features, access to advanced functionalities such as billable rates, budgeting, and detailed reporting is restricted to paid plans. Users on free plans may find themselves lacking essential tools for effective time management and project tracking.
Any of these limitations might be a dealbreaker for a team or a freelancer trying to track their work hours, so now you might understand why an external tool might be needed.
Everhour: The Best ClickUp Time Tracker
In navigating the complexities of time tracking within ClickUp, users often encounter various limitations that hinder efficiency and accuracy. Fortunately, Everhour serves as a robust solution, seamlessly integrating with ClickUp to overcome these challenges and enhance overall productivity.
After integrating Everhour and ClickUp, users gain access to a variety of useful features directly within the ClickUp interface:
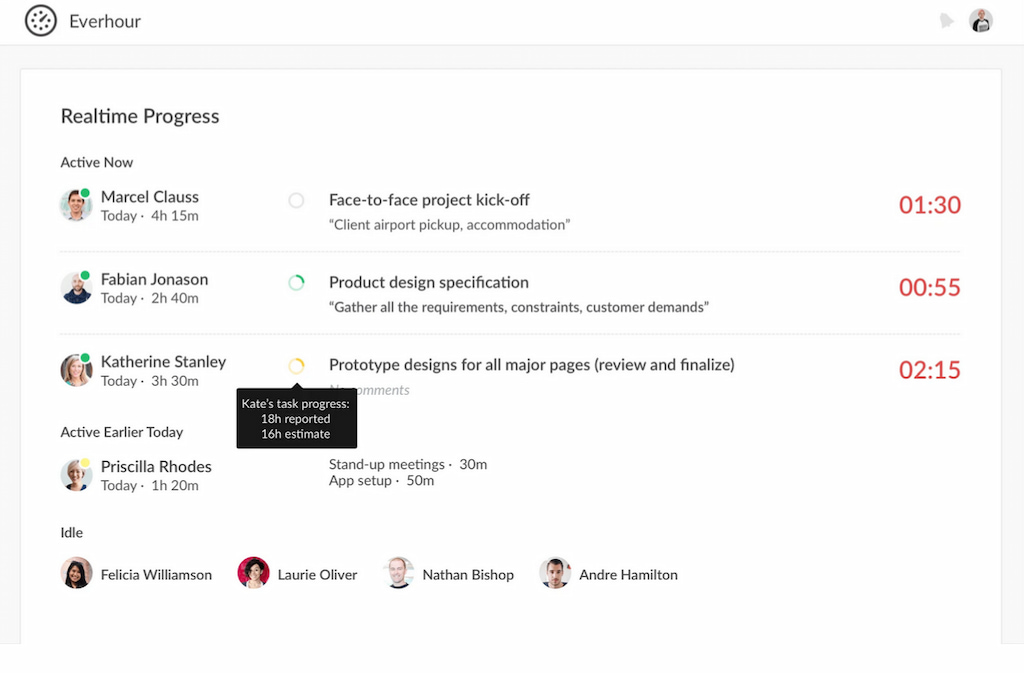
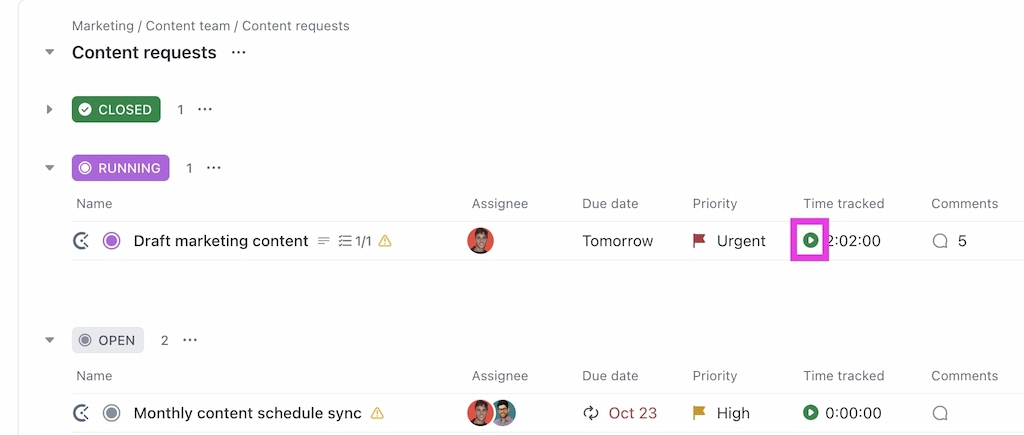
- Timer next to your tasks: Everhour displays a timer, estimate, and reported time next to task titles, providing real-time tracking information. You can also see how much time is spent in its Time or Project page. Total time is also displayed by section or for the entire project.
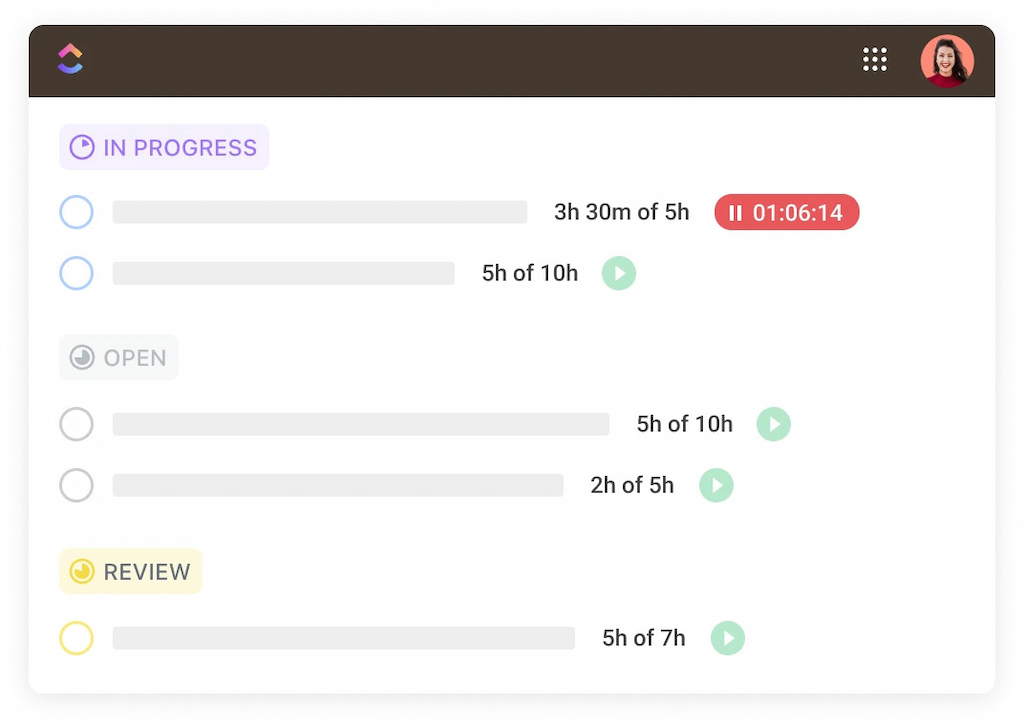
- Time and estimates along task title: Users can easily view time and estimates associated with tasks, facilitating better project management and time allocation. This feature is compatible with subtasks for comprehensive tracking.
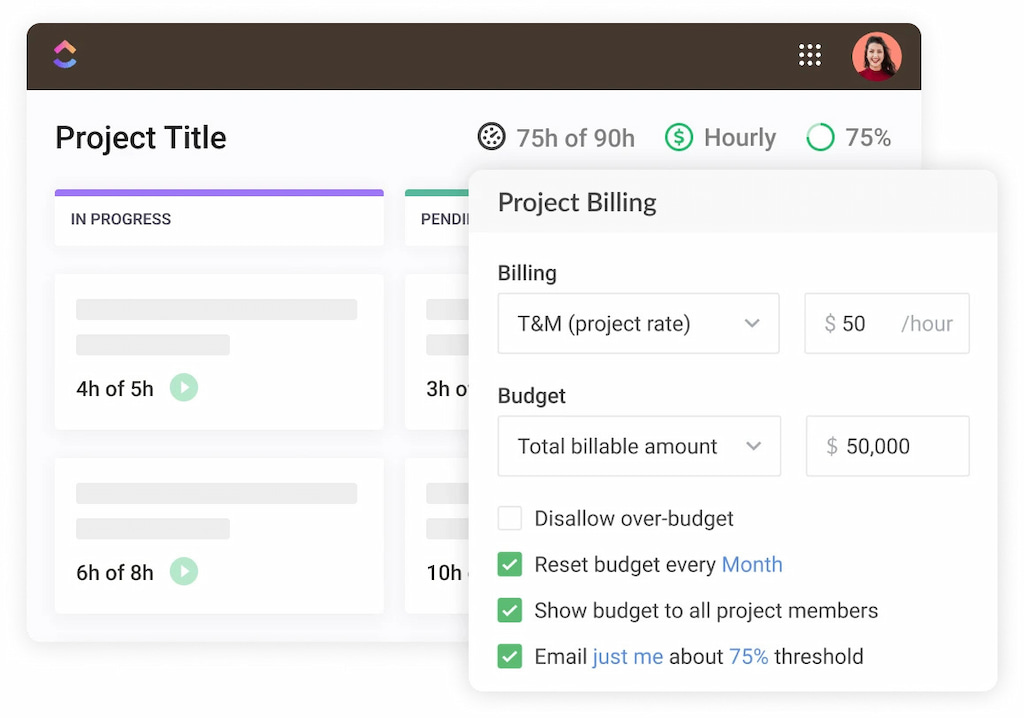
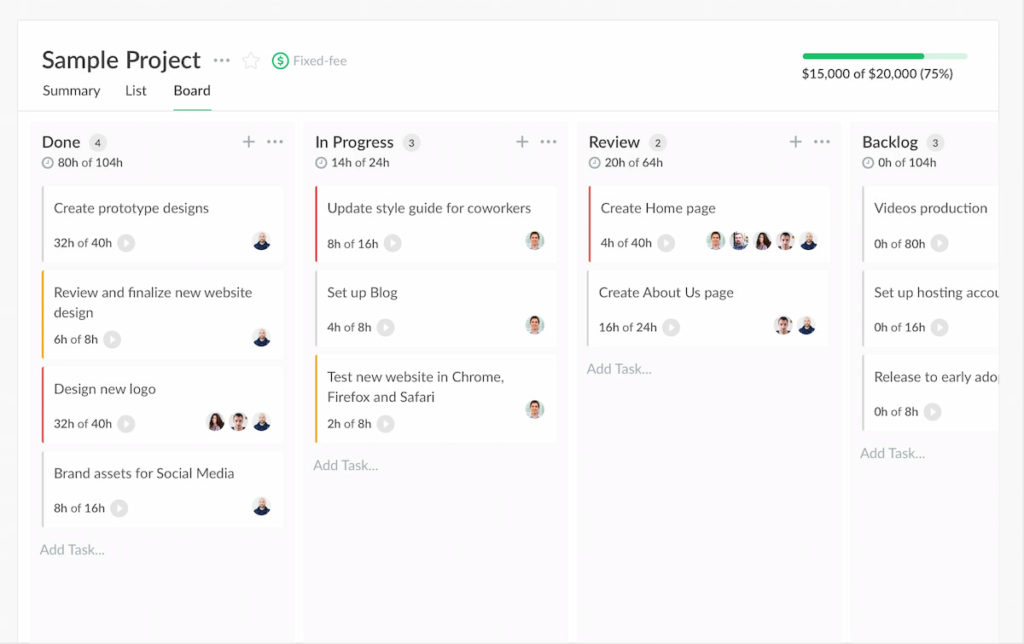
- Project budget: Everhour allows users to set project budgets based on hourly rates, fixed fees, or non-billable tasks. Email alerts notify users when budget thresholds are reached, ensuring projects stay on track financially.
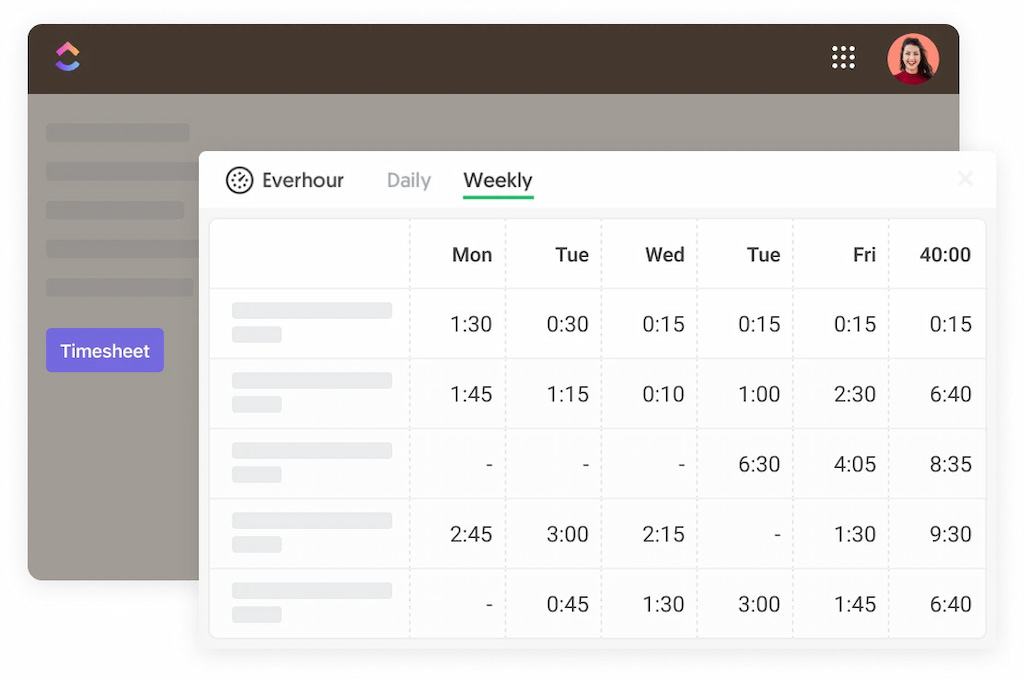
- Timesheet button: With a convenient timesheet button, users can quickly access their timekeeping records for a day or week, start timers, or add time and comments to tasks they’ve been working on.
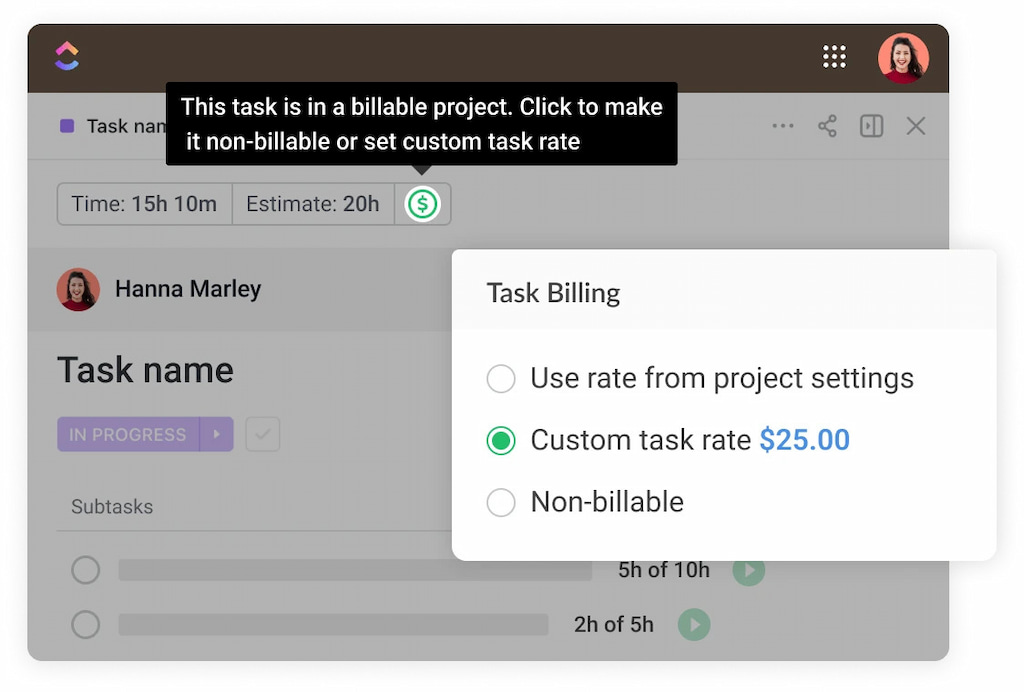
- Mark any task as non-billable: Everhour provides flexibility by allowing users to mark specific tasks within billable projects as non-billable, excluding them from billing calculations or applying custom rates.
Benefits of using Everhour with ClickUp
By integrating Everhour with ClickUp, users gain access to a myriad of benefits, including:
- Advanced analytics: Unlike ClickUp’s basic reporting, Everhour provides comprehensive analytics and customizable reports for in-depth analysis of time usage.
- Enhanced user-friendliness: Everhour simplifies the time-tracking process with intuitive controls and a user-friendly interface, minimizing the complexity associated with ClickUp.
- Expanded availability: Everhour’s inclusive features are accessible across all plans, offering billable rates, budgeting tools, and advanced reporting options to all users.
- Streamlined workflow: Through seamless integration, Everhour facilitates efficient collaboration and task management, allowing teams to stay on track and meet deadlines effectively.
Everhour vs ClickUp time tracking
When comparing Everhour’s integration with ClickUp to ClickUp’s native time tracking, several key differences highlight the advantages of Everhour:
| Feature | Everhour | ClickUp |
|---|---|---|
| Log time on someone’s behalf | ✔️ | ❌ |
| Time approval | ✔️ | ❌ |
| Individual time estimates | ✔️ | ❌ |
| Project budgeting | ✔️ | ❌ |
| Customizable time reports | ✔️ | ❌ |
| Invoices | ✔️ | ❌ |
By leveraging Everhour’s integration with ClickUp, users gain access to advanced features such as logging time on behalf of team members, time approval workflows, individual time estimates, project budgeting, customizable reports, and seamless invoicing. These features significantly enhance project management capabilities and streamline workflow efficiency compared to ClickUp’s native time tracking options.
Setting up Everhour in ClickUp
To integrate Everhour with ClickUp and maximize its benefits, follow these simple steps:
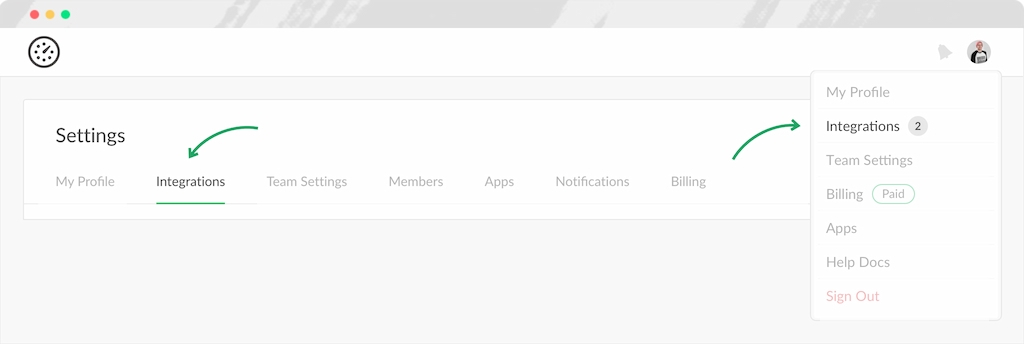
1. Install browser extension: Ensure the Everhour browser extension is installed and up-to-date on all devices for seamless integration.
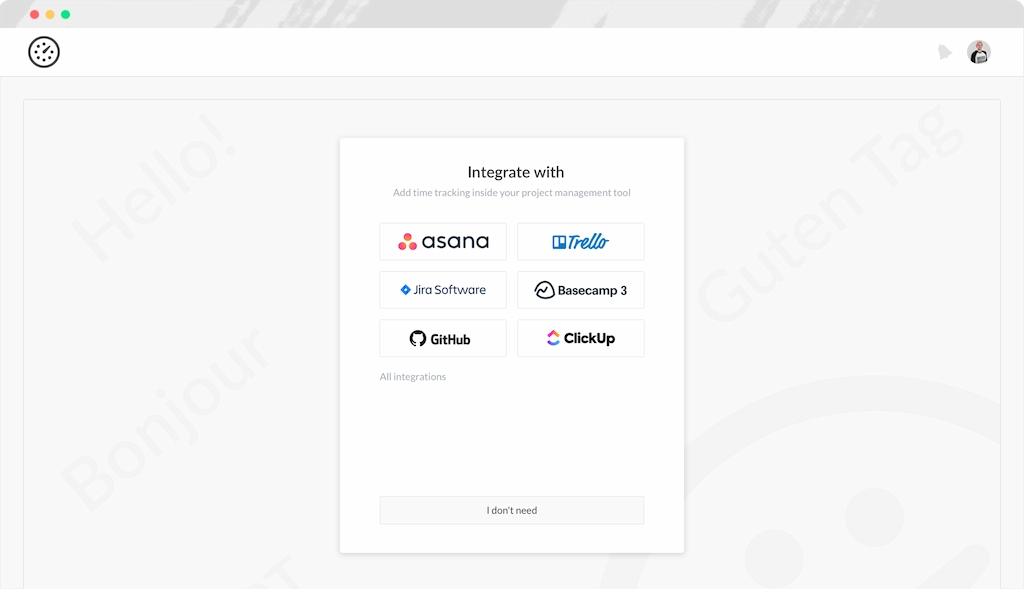
2. Connect Everhour: During signup, connect Everhour with ClickUp by following the prompts and selecting projects to sync.
3. Invite team members: Invite team members to join Everhour and connect their ClickUp accounts to begin tracking time and managing projects collaboratively.
With Everhour seamlessly integrated into ClickUp, users can streamline their workflow, optimize time management, and achieve greater efficiency in project execution.
How to Create & Edit Time Entries in ClickUp
In your ClickUp workspace, the process of creating and editing time entries is streamlined, providing you with a user-friendly experience. Here’s how to master the creation and modification of time entries.
Starting a timer
- Start tracking time by clicking the “Start” button in the “Time Tracked” field. This can be accessed from individual tasks, List view, or Board view.
- For added convenience, restart timers directly from existing time entries using the Quick Action menu.
Manual time entry
- Open a specific task or the timer, and access the “Time Tracked” field. Choose the “Manual” option.
- Specify the time duration and the date of the entry, whether it occurred “Now” or at a “Future” date.
- Enhance the entry with notes, labels, and billable details before saving.
Time entry using a range
- Open a task or the timer, click on the “Time Tracked” field, and navigate to the “Range” tab.
- Set the start and end times, select the date, and provide relevant details before saving the entry.
Editing time entries
- Edit your time entries directly from a task or the timer.
- Workspace owners or admins can edit time entries for other users.
- Modify crucial details such as dates, times, and durations, and save the changes.
Deleting a time entry
- Navigate to the task or the timer, access the “Time Tracked” field, and select the user’s name.
- Click the trash icon next to the entry you wish to delete, effectively sending it to the Trash.
ClickUp Time Tracking Cards
Use the power of ClickUp’s advanced time-tracking dashboard to enhance your project management and reporting capabilities. Unlock the full potential of customizable time tracking cards:
Time-tracking card types
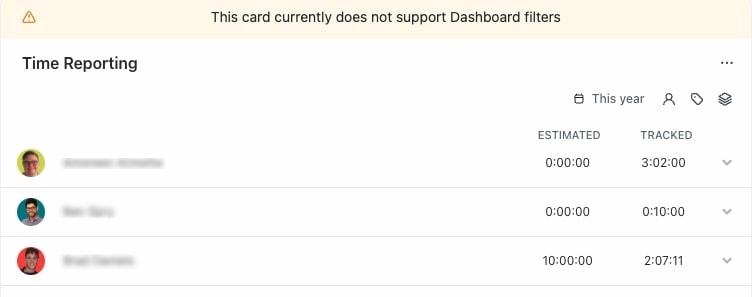
Time reporting card:
- Filter and group time entries by tasks, Lists, Folders, or Spaces.
- Toggle time estimates and select billable or non-billable time entries.
- Include subtasks for a comprehensive view.
Timesheet card:
- View time tracked for a week, month, or a custom range.
- Utilize Me mode to filter tasks assigned to you.
- Display time grouped by day and obtain a total.

Billable report card:
- Quickly showcase a report focusing solely on billable time.
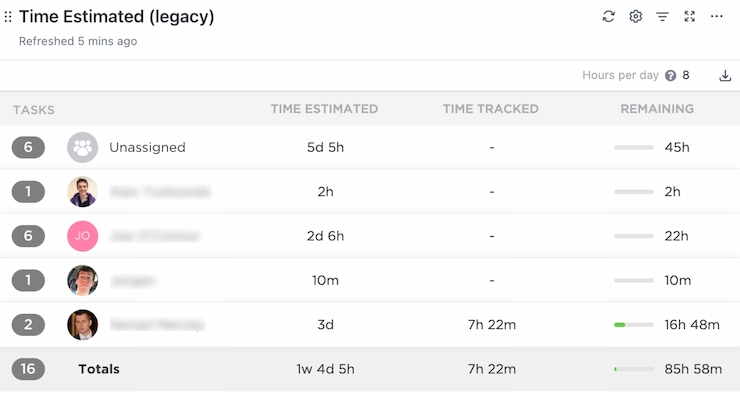
Time estimated (Legacy) card:
- Visualize time as a team resource for project planning.
- Export extensive data for further analysis.
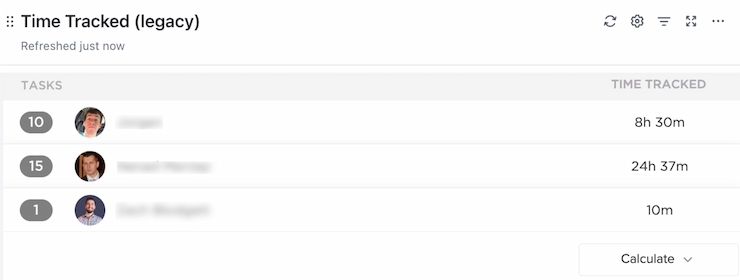
Time tracked (Legacy) card:
- Track cumulative time logged by each user.
- Include subtasks and export detailed data.
Creating time-tracking cards
- Open your Dashboard in ClickUp 2.0 or 3.0.
- Click + Add card > Time Tracking.
- Choose a card type and customize settings.
- Add the card to your Dashboard.
Customization options
- Options vary based on card type, including time range, time tags, people, billable status, and more.
- Legacy cards offer additional features like exporting extensive data.
Exporting data
- Users on Business Plan and above can export Time Tracking card data.
- Hover over the card, click the ellipsis … menu, and select Export.
- Legacy cards may have additional data columns like Username, Time Entry ID, Description, Billable status, Time Labels, Start and Stop times, and Time Tracked duration.
Card options
- Access card options by hovering over and enabling Edit mode.
- Options include refreshing the card, adjusting settings, applying filters, viewing in full screen, and utilizing the ellipsis … menu for duplicating, exporting, or deleting the card.
Empower Your Productivity with ClickUp Time Tracking Mastery
The seamless integration of time tracking into various ClickUp views, coupled with the ability to access it from anywhere using the Chrome extension or mobile app, provides unparalleled flexibility. Whether you’re initiating timers, manually adding time entries, or utilizing advanced features like billable time and descriptive details, ClickUp caters to your every time-tracking need.
Now armed with the knowledge of the ClickUp time tracking strengths and the step-by-step guide on creating, editing, and managing time entries, you’re ready to take control of your projects. Join the community of highly productive teams that have embraced ClickUp, and experience the freedom of intelligent time tracking that adapts to your unique needs. Unleash the potential of your time tracking with ClickUp – where productivity meets precision.
Learn more about ClickUp in our thorough ClickUp review!

Maria
A dedicated content enthusiast with extensive experience in international teams and projects of all sizes. Maria thrives on creativity and attention to detail, fueled by a love for fantasy novels, music, classic black-and-white films, and always finding ways to make things better.