Integration with GitLab Cloud
We keep expanding the list of Everhour integrations. After we’ve integrated with some GitLab alternatives, it’s time to power up GitLab itself! This time around we are happy to bring you the GitLab Cloud time tracking integration.
How to set it up
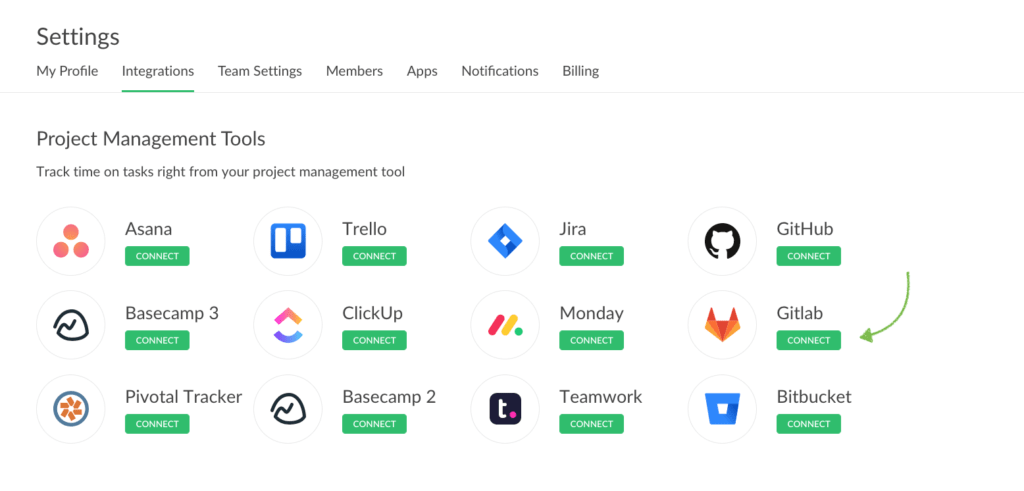
To connect GitLab time tracking, you need to select it from the list of integrations either during onboarding or later on the Integrations page.

It’s also crucial that you have the Everhour browser extension installed, as we use it to display the Everhour controls inside GitLab.
Note: you don’t have to invite all of your GitLab members to Everhour, only those who you want to be able to track their time. Each of the invited members will also need to install the Everhour extension to be able to track time straight in GitLab.
How the sync works
Once you connect GitLab, Everhour will automatically sync all your projects across all groups and organizations, except your public projects where you are not the creator or were not assigned to the project.
A few important notes on the Everhour-GitLab integration:
- It’s currently not possible to make a granular sync, deciding which projects you wish to connect and which not. We won’t sync a project, when it is a fork from a project that belongs to another organisation to which Everhour has no access to. We also don’t sync Merge Requests in this first iteration;
- Sync happens periodically and automatically so all new project that you create in GitLab will be added to your Everhour account. Everhour also updates the names of issues or projects if they were renamed;
- If you have private projects where you don’t track time or set task estimates, such projects won’t be visible to other team members including admins.
Controls inside GitLab
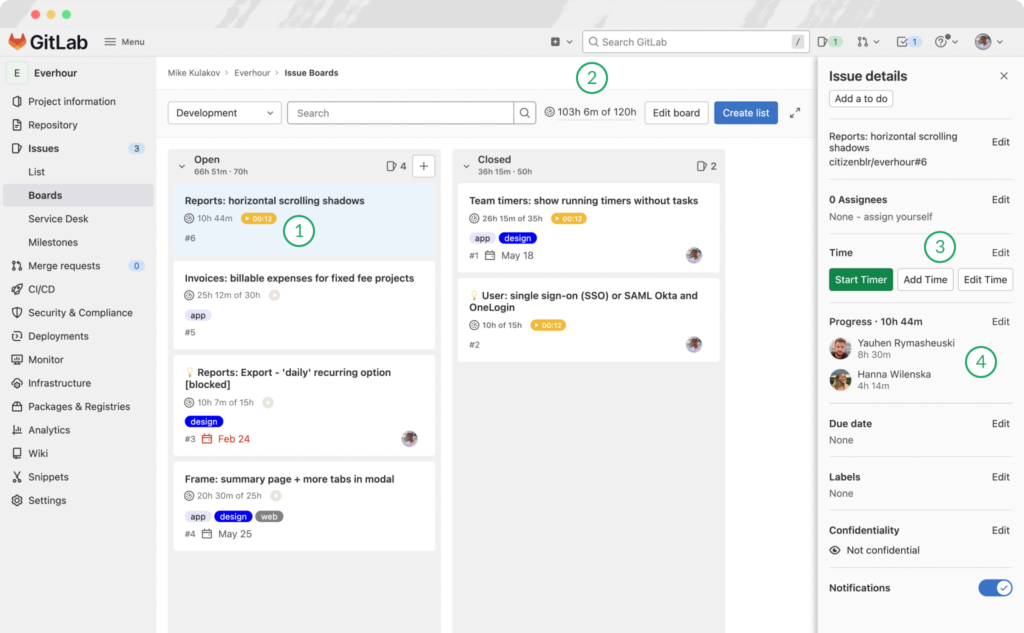
After you set up the connection, you will see the following Everhour controls inside GitLab:

- The Start Timer button;
- Total time tracked into the project;
- Buttons: you can track time via the timer or log time manually.
- Task time: total time reported into the issue by each employee. Click on the badge to make changes.
Making reports with GitLab data
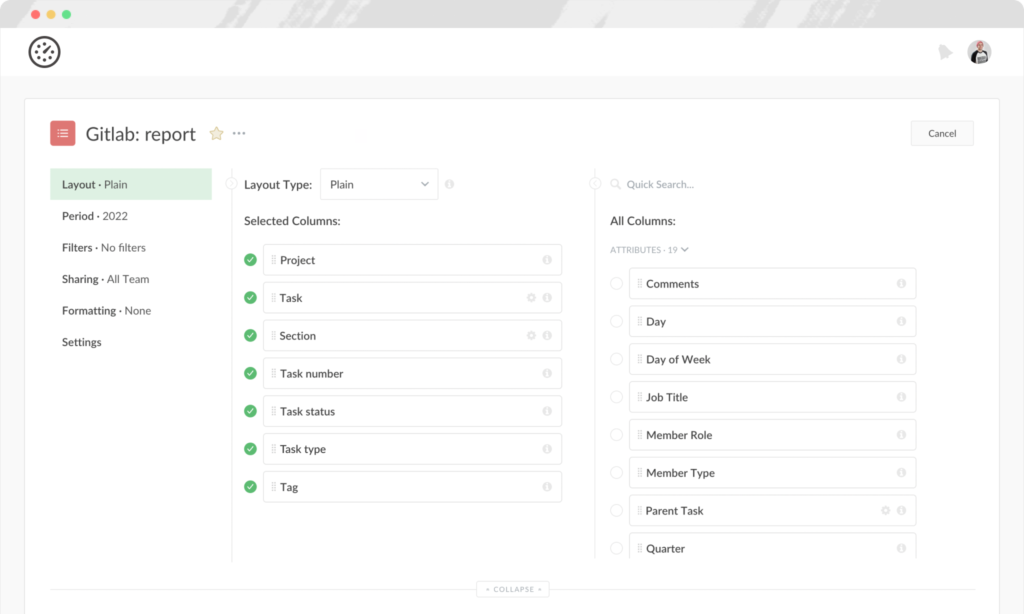
There are a number of columns that show specific data coming from GitLab. Open the report builder and select any of the columns to display the appropriate data in your report.

- The Project and Task columns show the names of GitLab projects and issues respectively;
- The Task number and the Task status columns show task IDs and if the tasks are open or closed;
- Task type shows if an issue is a task or an incident;
- The Tag column shows the name of GitLab tags.
🔎 Here’s what real users have to say about Everhour:
“I like the flexibility and scalability potential of the tool which allows us to track many projects we manage all at once.” [Oyaro, Capterra]
“Very easy to set up and use. I can generate different kinds of reports.” [Melodie, Capterra]
“Everhour has made my life so much easier when it comes to tracking time and managing projects. The reporting capabilities are awesome. I can easily see where I am spending time and adjust if necessary.” [Daniel, G2]