New Timeline app
We are excited to introduce the updated version of Everhour scheduling functionality — the Timeline app!
Its main difference from Schedule (legacy app) is the ability to sync assignments from your connected integrations automatically once you add a task assignee and a due date there. Let’s see how it works.
Timeline at a glance
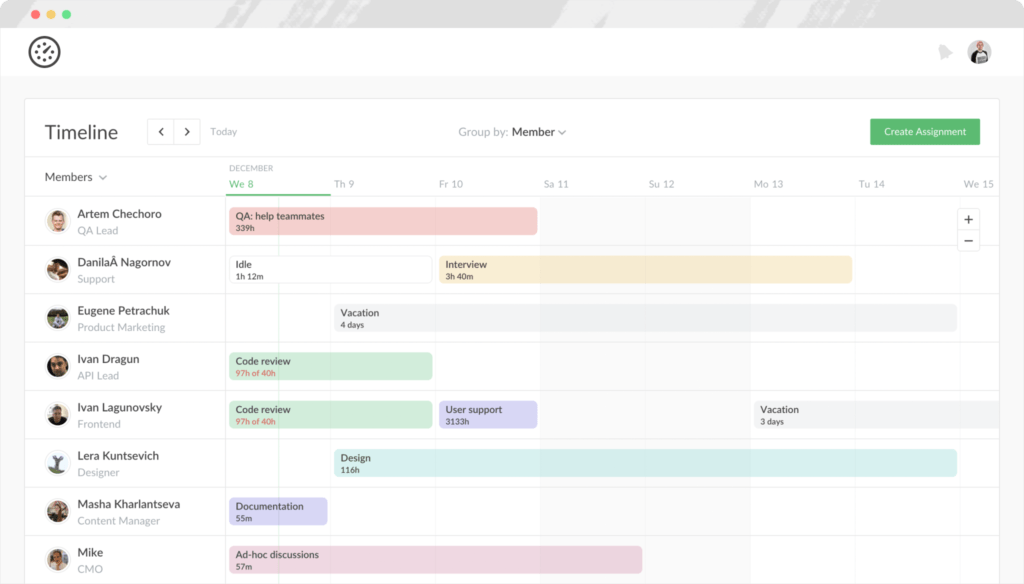
On the Timeline page, all tasks and time off are arranged chronologically on the calendar view.

You can do a range of actions here:
- Group by Member, Project or use without grouping;
- Zoom in/out this page and navigate between weeks;
- See the assignment block which is a task or time off with time spent vs estimate below;
- Click on the assignment to open details or make changes.
Enabling Timeline
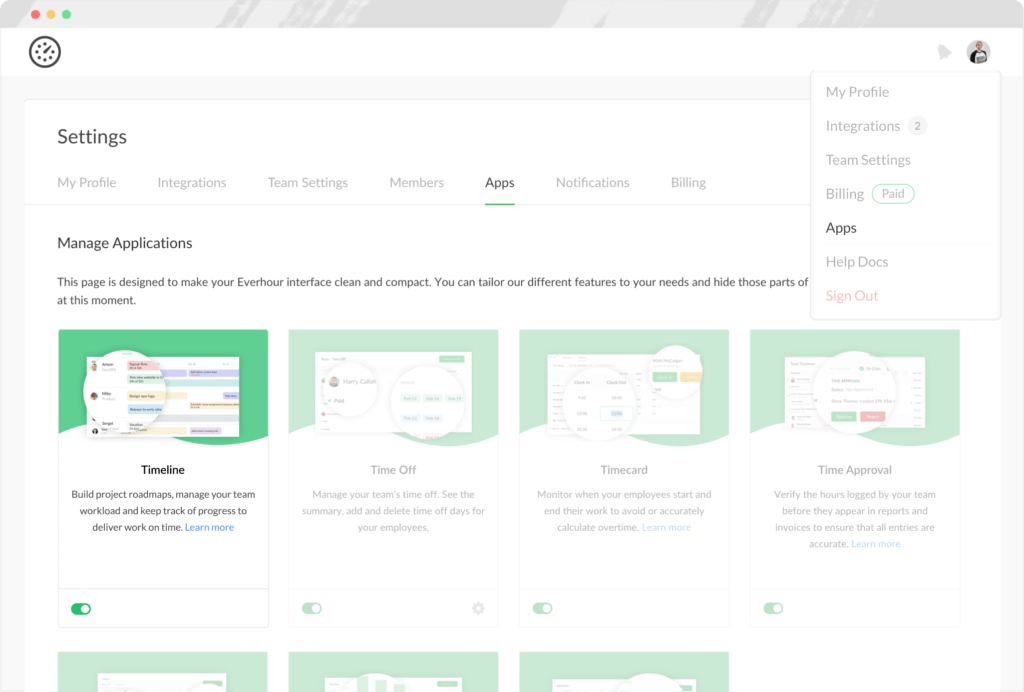
First off, a team admin needs to turn the Timeline app on on the Apps page. Timeline is only available in Team plan.

Creating assignments in Everhour
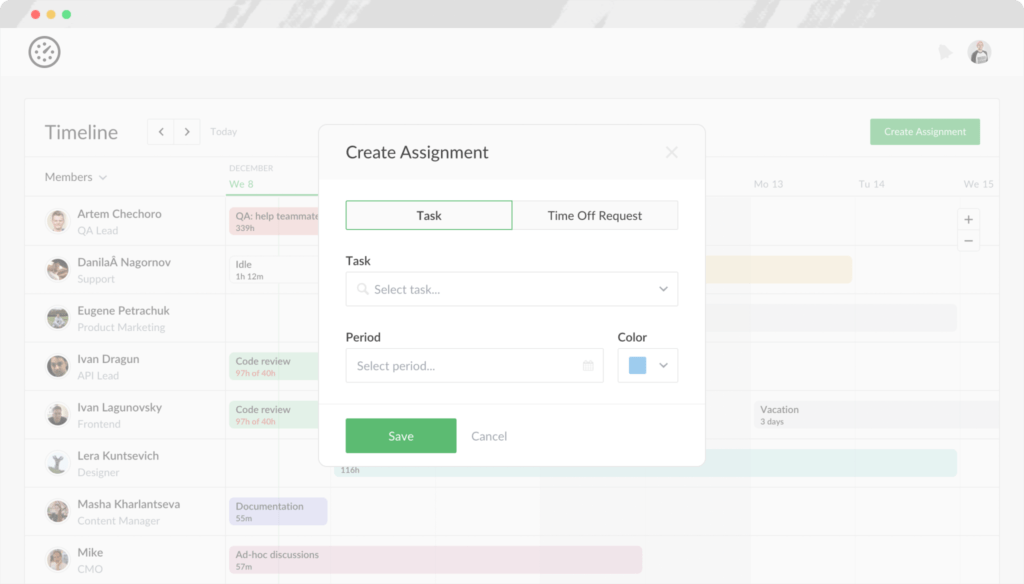
You can create an assignment by clicking on the green “Create Assignment” button in the upper-right corner or capture a specific period on the calendar view. This will open the Create Assignment window:

- Select the type of an assignment: ‘Task’ or ‘Time off’;
- Choose a task;
- Specify the period and color.
Note: once you create an assignment for a task, this task can no longer be chosen for another assignment with different estimates or time range. You will only be able to update the existing assignment.
Creating Assignments inside integration
You can add start and end dates, task assignees, and estimated hours directly in your connected integrations. A new assignment will automatically appear in your Timeline if a task at least has a due date.
Please check the table in our help article that explains how Timeline syncs assignments from each of integrations we have.