Track time with Everhour's Google Chrome timer
-
Step 1: Create an account with Everhour
-
Step 2: Install Everhour’s time tracking extension for Chrome
-
Step 3: Log in
Open the Everhour time tracker extension in your browser, click the "Log In" button, and finish the login process. The Everhour button will be pinned on your Menu bar so that you can easily access a Google time tracker from any web page.
-
Step 4: Start tracking time
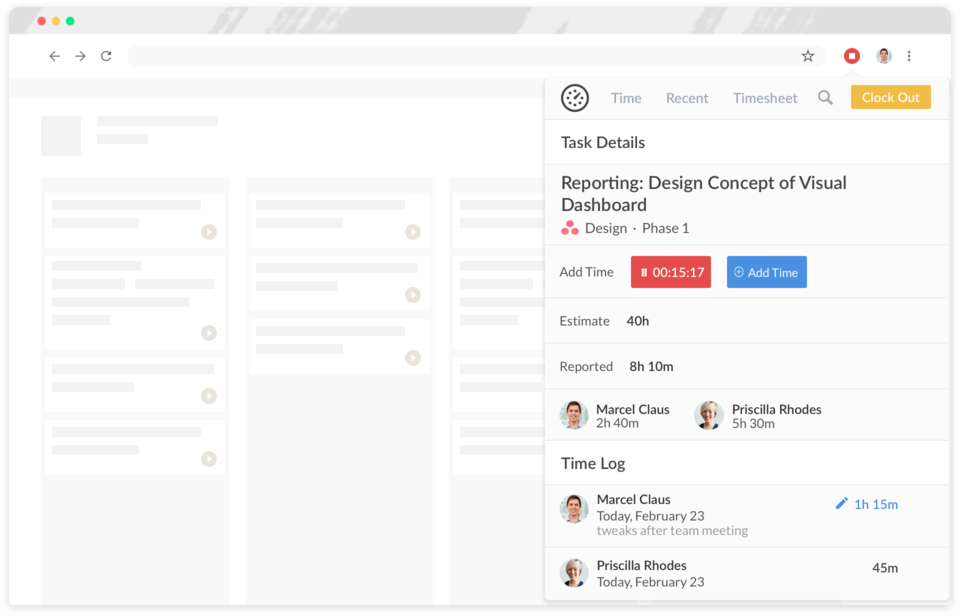
Enter the details of what you’re working on and start the work hours tracker.
-
Step 5: Add the details
Add project, task, tag, etc., to your time entry.

-
Step 6: Resume tracking
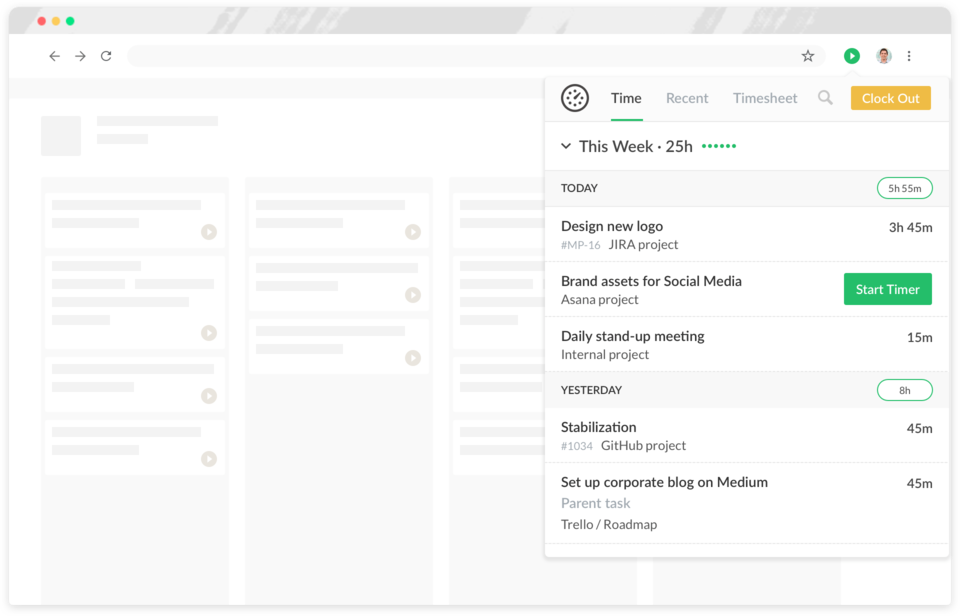
Continue tracking time by clicking on the entry inside the timer extension.
-
Step 7: Track time inside other web apps
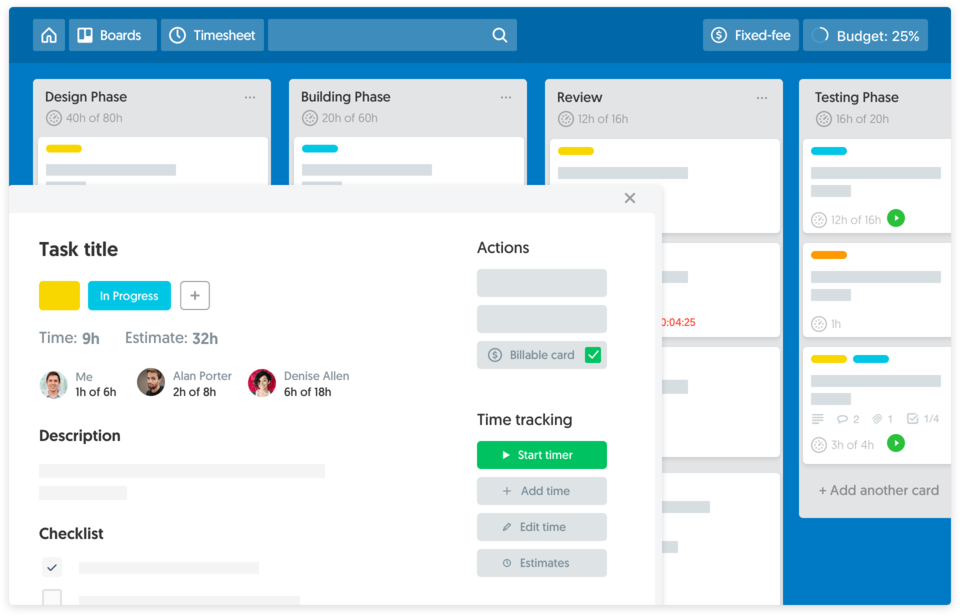
Sync up the Everhour time tracking Chrome extension with your project management apps of choice (Asana, Trello, JIRA, Basecamp, ClickUp) and use Everhour time controls inside their interfaces.

-
Step 8: Enable additional settings
If you want to customize your time tracking experience and make it more accurate you can turn on Everhour’s Google timer extension extra features:
✔️ Receive a notification if you don’t start your timer.
✔️ Clock-in/clock-out automatically when you open/close your browser.
✔️ If there isn’t any activity for a specific time, you get clocked out.
-
Step 9: Manage projects
The web app allows you to use such tools as an attendance tracker and a time clock app, edit your time entries, set up employee time tracking, manage projects, invoicing, and payroll, track expenses, work on timesheets, and create and export reports.
